Table of Contents
How to Draw a Simple Turkey Feather – Learning how to draw a simple turkey feather is a fun, low-pressure activity for kids, beginners, and anyone prepping Thanksgiving crafts or classroom projects. A basic feather outline is easy to master with a pencil and paper, and it pairs perfectly with free printable templates you can color, cut, or use as guides.
This guide walks you through a straightforward step-by-step process, shares practical tips for a realistic or cartoon look, and points you to legitimate free printables so you can start creating right away.
Why Draw Turkey Feathers?
Turkey feathers appear in many Thanksgiving drawings, paper crafts, thankful turkey projects, and school activities. Practicing a single feather helps build confidence before tackling a full turkey. The shape is simple—an elongated oval with a central shaft and angled barbs—yet it looks impressive once you add a few details.
Kids improve fine motor skills and observation, while adults get a relaxing, seasonal sketch. Once you can draw one, you can fan out several for a full tail.
Supplies You Need
- Pencil (HB or similar for light sketching)
- Eraser
- Paper or sketchbook
- Optional: fine black marker for outlining, colored pencils or markers for fall colors (browns, oranges, reds, golds)
Keep lines light at first so you can adjust easily.
Step-by-Step: How to Draw a Simple Turkey Feather?
Follow these easy steps for a clean, beginner-friendly result. Work lightly until the final stage.
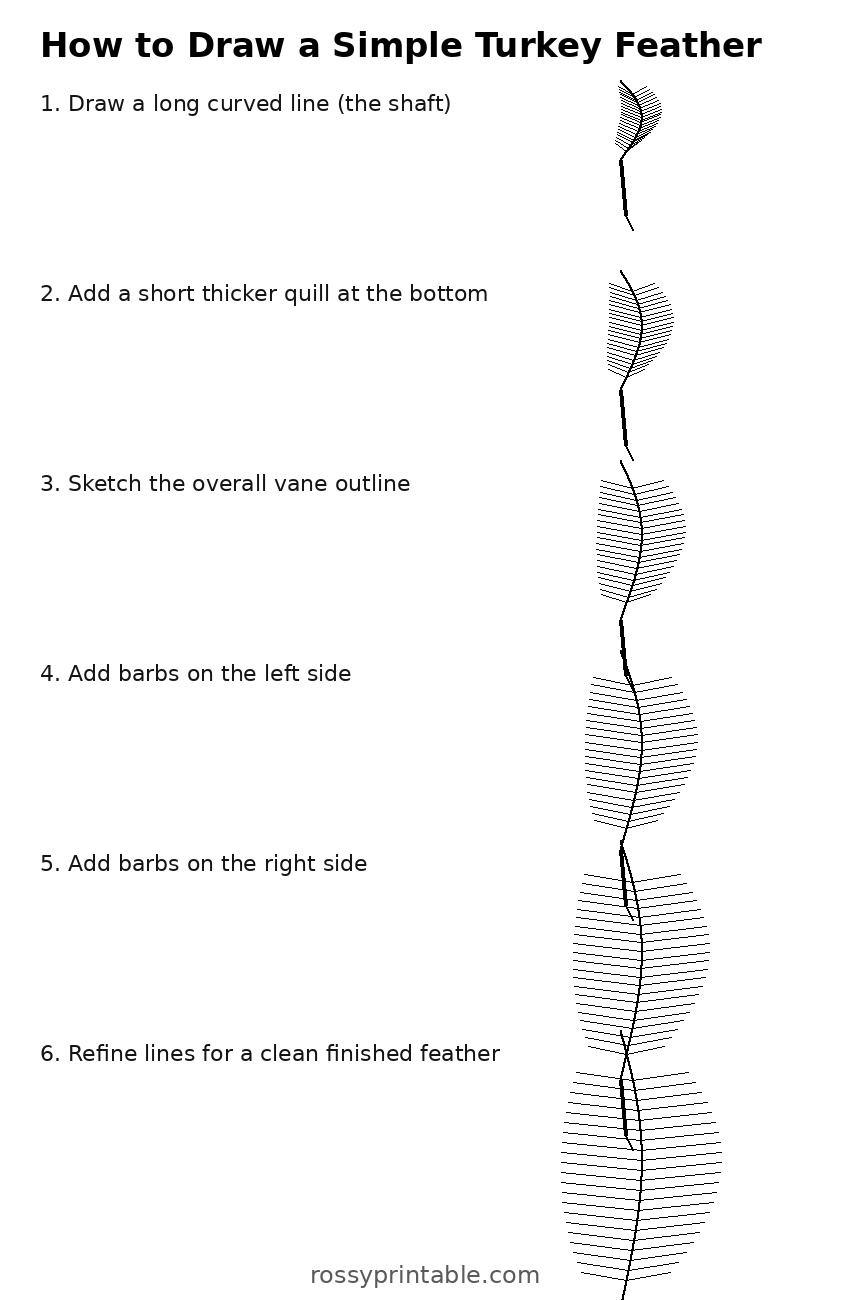
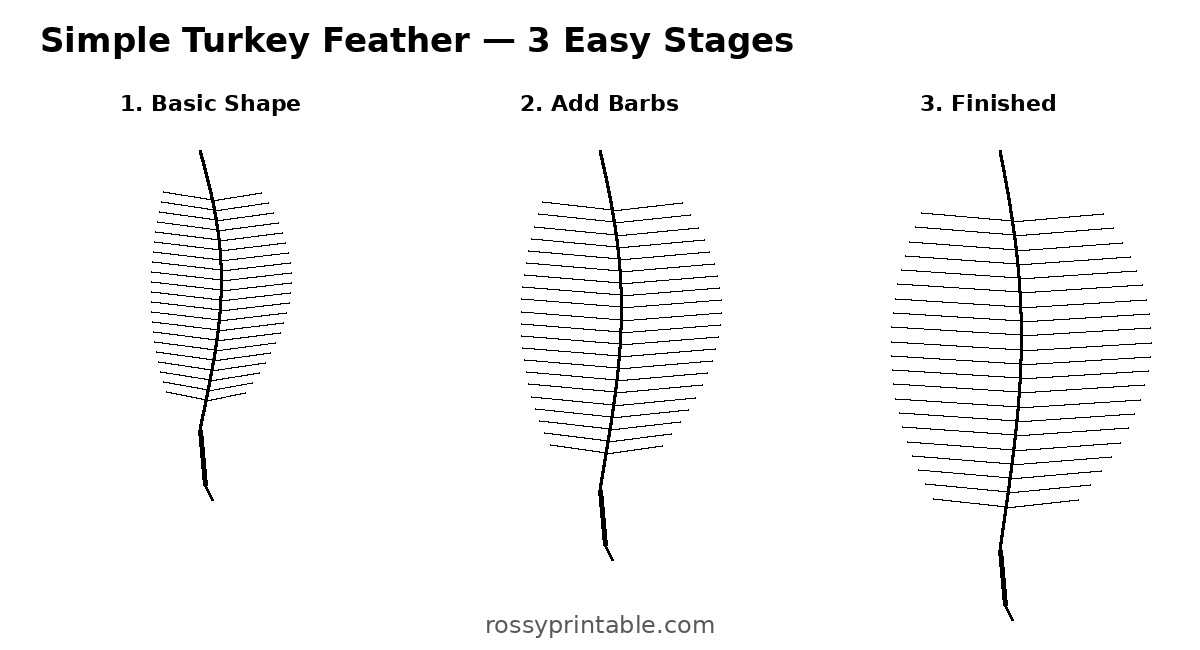
Step 1: Sketch the basic shape.
Draw a long, slightly curved oval or teardrop shape that is wider in the middle and tapers toward both ends. Leave space at the bottom for the shaft (quill). This outline acts as your guide.
Step 2: Add the central shaft.
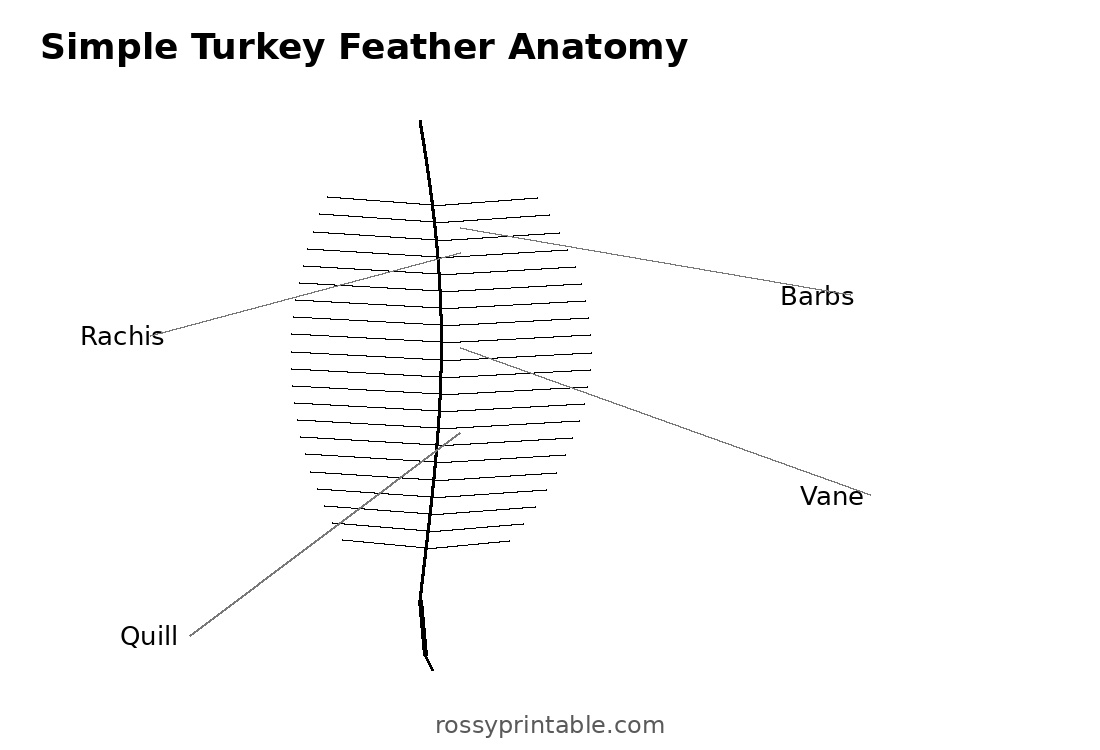
Draw a thin line down the middle of the oval, slightly thicker at the bottom and pointed at the very tip. Curve it gently for a natural look. The shaft (also called the rachis) runs the length of the feather.
Step 3: Create the outer edges and barbs.
Using the oval as a frame, draw short angled lines extending outward from the shaft on both sides. These are the barbs. Angle them slightly downward and make them a bit longer near the middle of the feather. Keep the sides uneven for a realistic feel—perfect symmetry looks artificial.
Step 4: Add splits and texture.
Feathers often have small splits or fluffy edges. Add a few short, jagged or curved lines near the base and along the edges to suggest individual strands. Near the bottom, sketch a few soft, pointed clumps for the downy fluff.
Step 5: Clean up and darken.
Erase the original oval guide where it is no longer needed. Darken the final lines with your pencil or a fine marker. Add light shading along one side of the shaft and under overlapping barbs if you want more depth.
That’s it—you now have a simple turkey feather. Practice a few times; each one will look a little different, which is ideal for a natural tail fan.
For a more detailed approach that builds from a basic outline to splits and texture, see the clear six-step feather tutorial at EasyDrawingTips.
How to Draw a Simple Turkey Feather?
Tips for Better Turkey Feathers
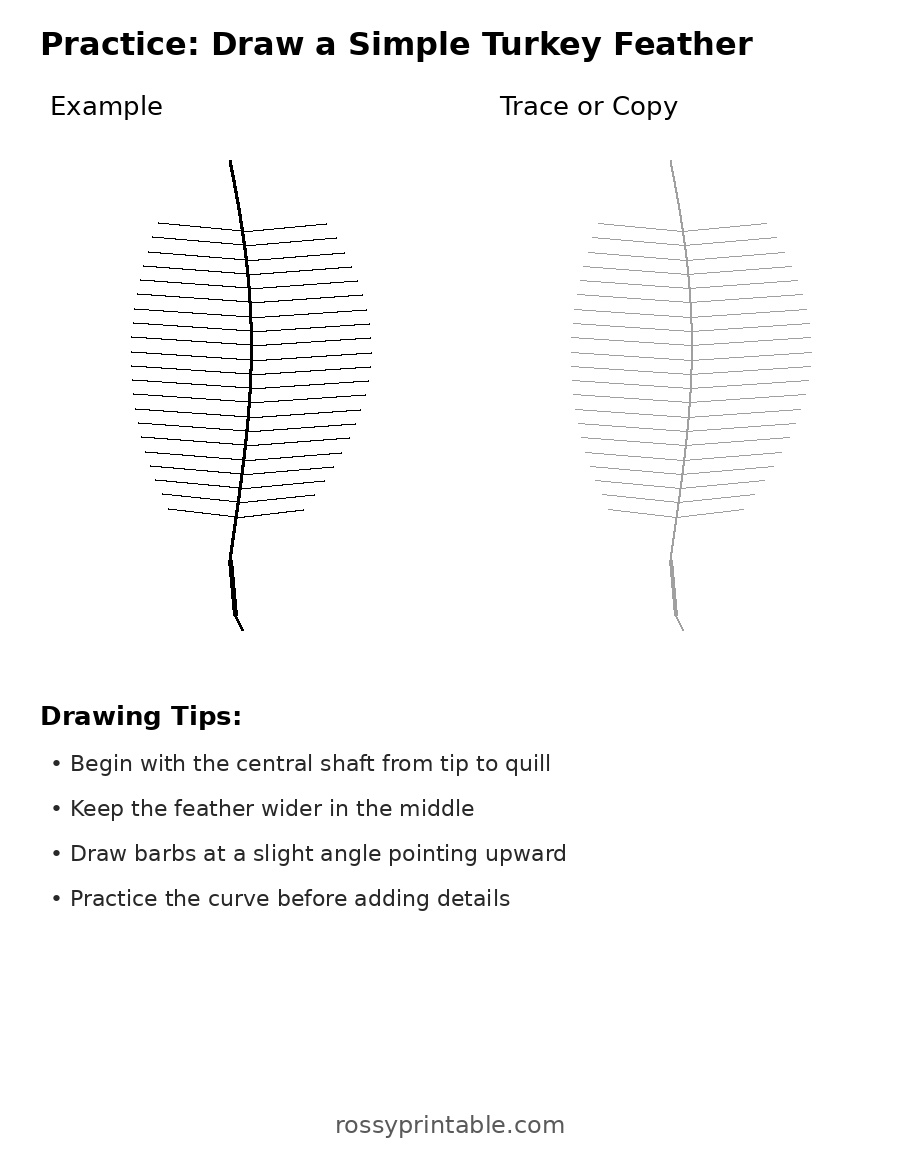
- Vary the length and angle of the barbs so the feather does not look stiff.
- Real turkey feathers show iridescence and layered browns, creams, and metallic hints—use layered colored pencils for a richer effect.
- For cartoon style (great for kids), keep the outer shape smooth and the barbs fewer and more rounded.
- Draw several feathers at slightly different sizes and angles, then arrange them in a fan behind a simple turkey body.
- Reference real photos of wild turkey plumage if you want extra accuracy, but start simple.
Free Printable Turkey Feather Templates
Printable outlines make drawing, tracing, coloring, and cutting much easier. These trusted sources offer free downloads for personal and classroom use (check each site’s terms).
One excellent collection features 24 free turkey feather pattern templates in multiple styles (standard, thin, curved, decorative, and minimal) and sizes—from one large feather per page to nine small ones. Download the PDFs directly for crafts, coloring, or tracing:
Turkey Feathers Pattern Printable (24 Free Templates).
Another reliable option provides three different free turkey feather templates (pointed, rounded, and detailed with cut lines), available in large and small sizes perfect for scissor practice, coloring, or building a thankful turkey:
Turkey Feather Template (Free Printables).
These printables work well alongside the drawing steps above—trace a template first if freehand sketching feels intimidating, then add your own details.
Quick FAQ
Is this drawing method suitable for young kids?
Yes. The basic shape and shaft are simple enough for preschool and elementary ages with adult guidance. Use the free templates for even easier tracing and cutting.
Can I use these feathers for crafts beyond drawing?
Absolutely. Color and cut them for paper turkeys, write “thankful” messages on them, or glue them onto a body for bulletin boards and decorations.
Where can I find more free Thanksgiving drawing help?
Look for step-by-step turkey tutorials on educational art sites and combine them with the feather templates linked above.
Drawing a simple turkey feather is a satisfying seasonal skill that takes only a few minutes to learn. Grab a pencil, try the steps, and download a free printable template to practice or turn your drawings into crafts. Happy Thanksgiving creating!